The ultimate Porsche 911 Safari Off-road Project
Mads van Appeldoorn
November 10, 2021
As Amazon Associate I earn from qualifying purchases. I may receive a small commission at no additional cost to you for purchases made through links in this post.
There was a project before my silver Backdate and my other restorations. It’s so long ago, cameras didn’t even exist nor were they invented. Okay, I was kidding. But to be frank with you, I didn’t take pictures of the building process which I honestly regret. Enjoy the images of the final result and my brief description anyway.
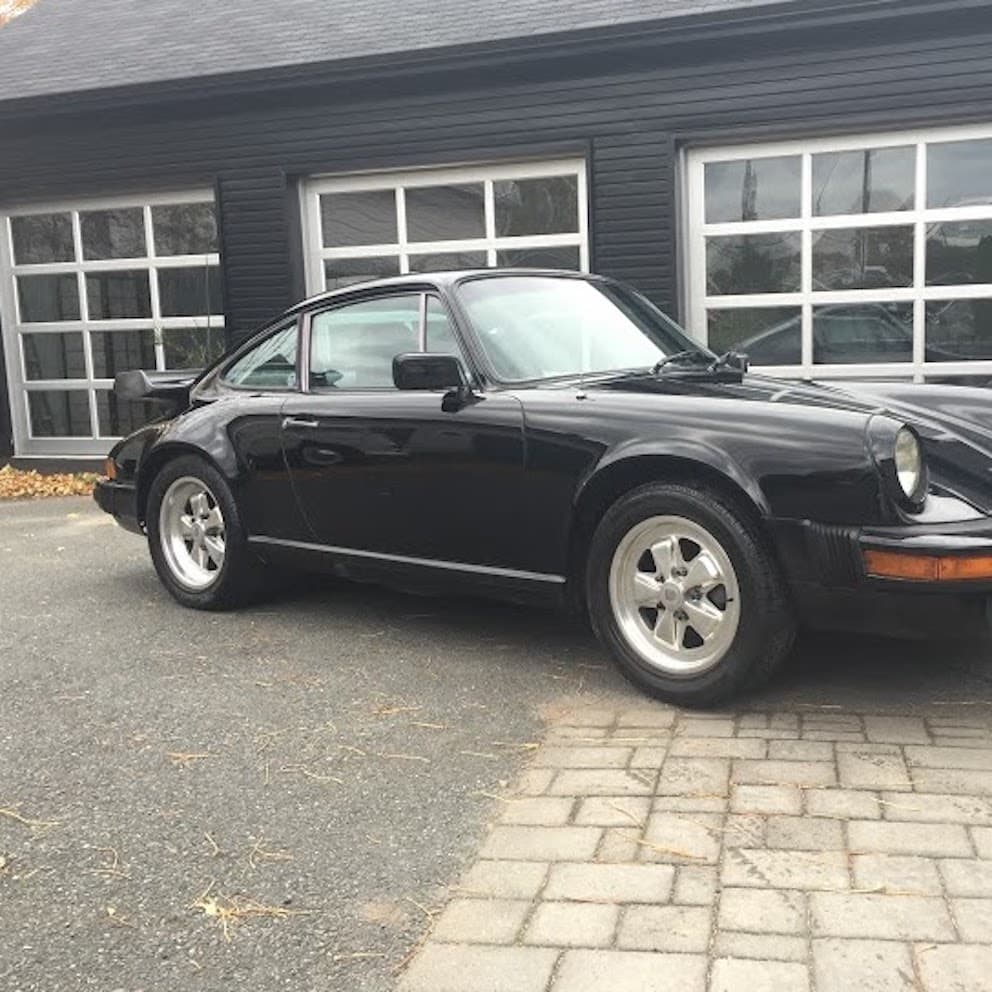
1984 PORSCHE 911 Carrera 3.2
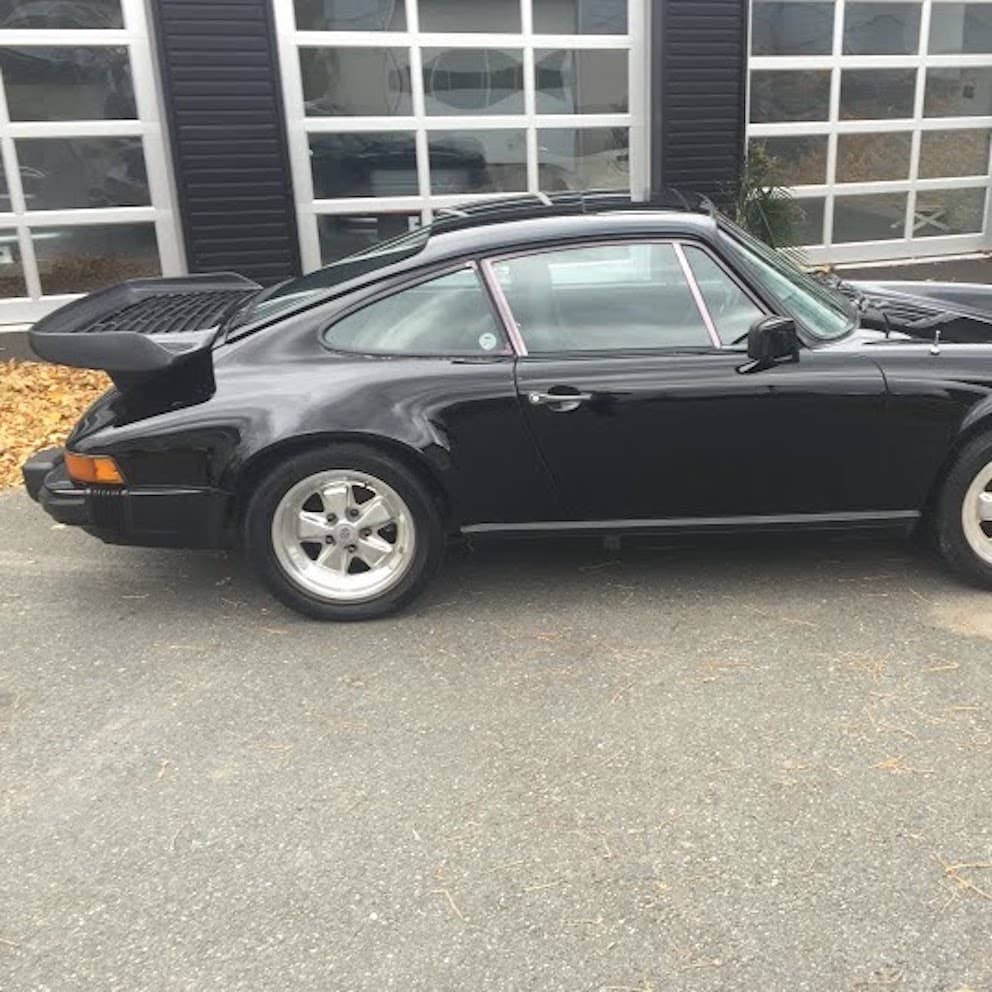
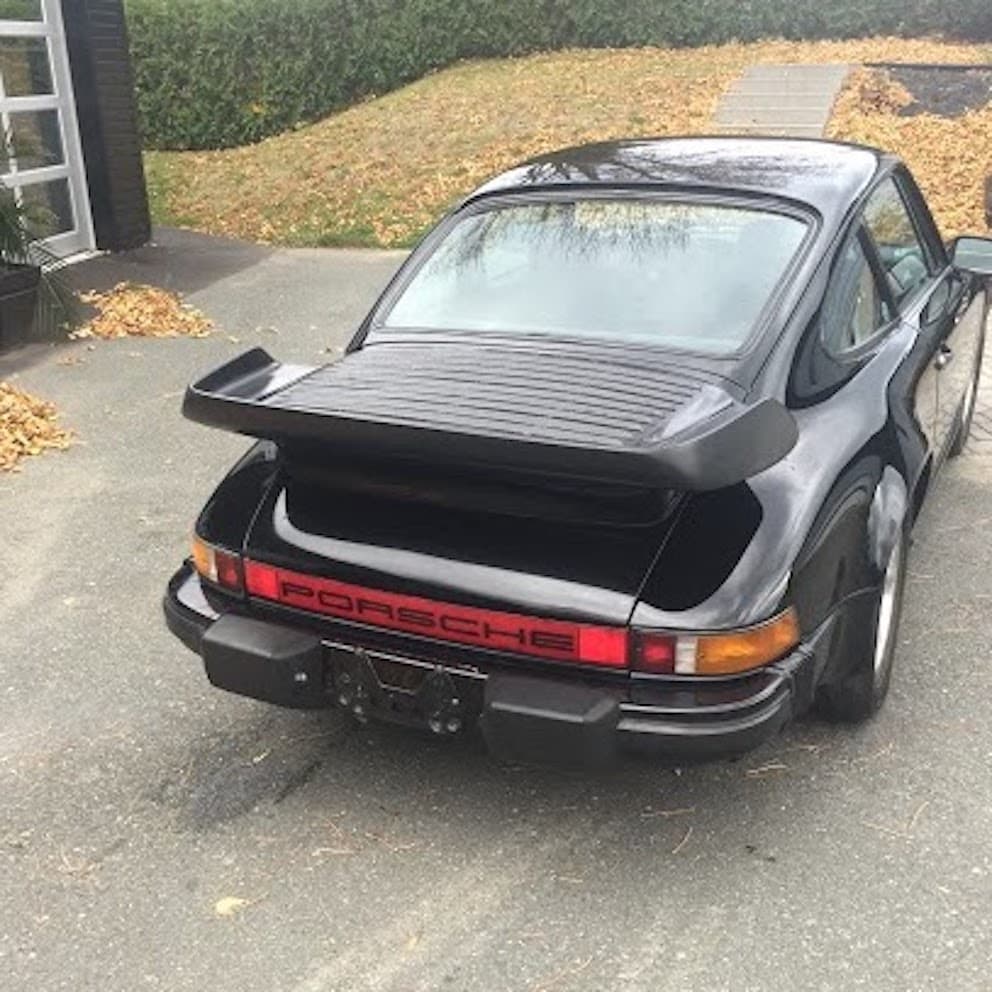
But yeah, it was years ago, back at the time when I spent most of my time in Germany. Cars were still somewhat affordable so I picked up a tired Carrera 3.2 with about 300.000mls on the clock which has been sitting for a while, and advertised in the wrong category. Yes, it was cheap and a lot of stuff was wrong to the production year. But anyway.
Took it to my garage and looked at it for a while. Almost started a conversation with the car – like – what the heck am I gonna do with you? At first I fixed a number of rust issues, got the engine running again and pulled it right after since the transmission had several problems that needed to be addressed.
When the car was standing there, no gearbox, no engine, it was a little higher in the back and I kinda liked that. So I thought – why not build a Safari 911, higher, with a lot more clearance and some of the features the Rally 911s had in the late 70s, early 80s.
DISASSEMBLY
Started the same day with stripping the car without a plan in my mind and no idea what I would need to do to raise the car considerably. Engine and gearbox were out already, I started on the interior and took out everything. windows first, dash, seats, panels, really everything.
At the end of the day I was done with this part and I called a buddy who I was sure could help. In fact it turned out he was helping some other dude building such an off-road Porsche 911 a few years ago. And he knew exactly what needed to be done.
SUSPENSION & TIRES
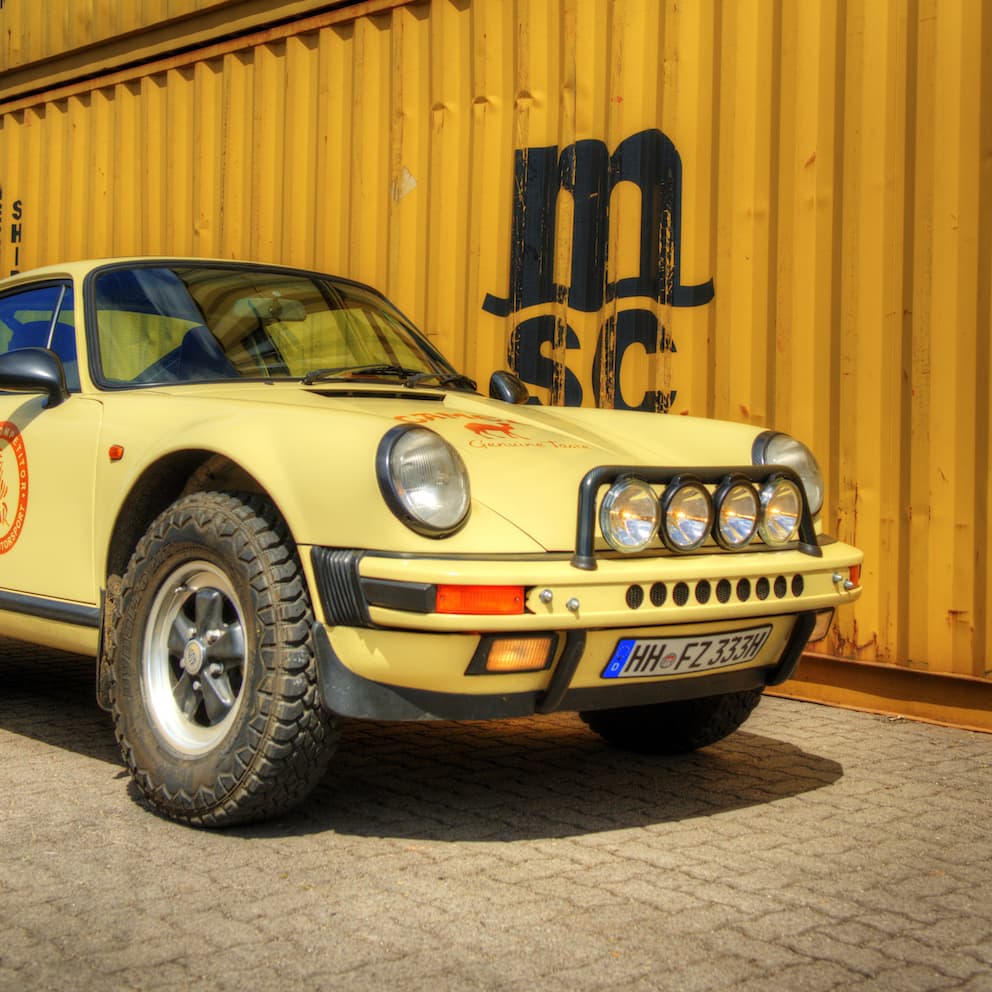
Oh yes, you figured it right, biggest part was suspension. Until this moment, I haven’t seen such a Safari 911 in real life before and had no idea what kind of suspension they had back when Porsche built their special Rally cars. Years later I went to the Porsche Museum in Stuttgart and saw how they have done it. Anyway.
So my buddy Peter modified the front struts and pointed me into a direction where I could find different torsion bars. Yes, you heard that right. Torsion bars. It would have been easier to go coilover but I wanted to stay as close to factory spec for some reason I can’t remember right now.
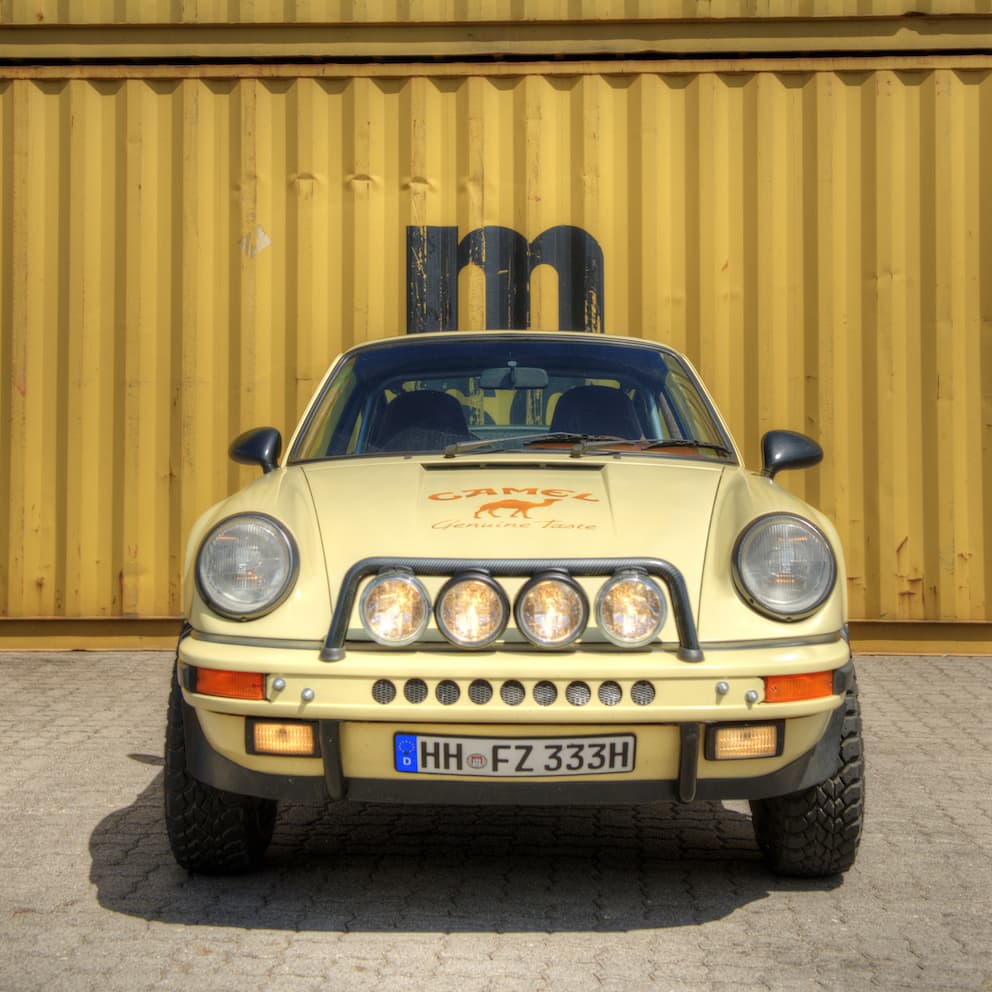
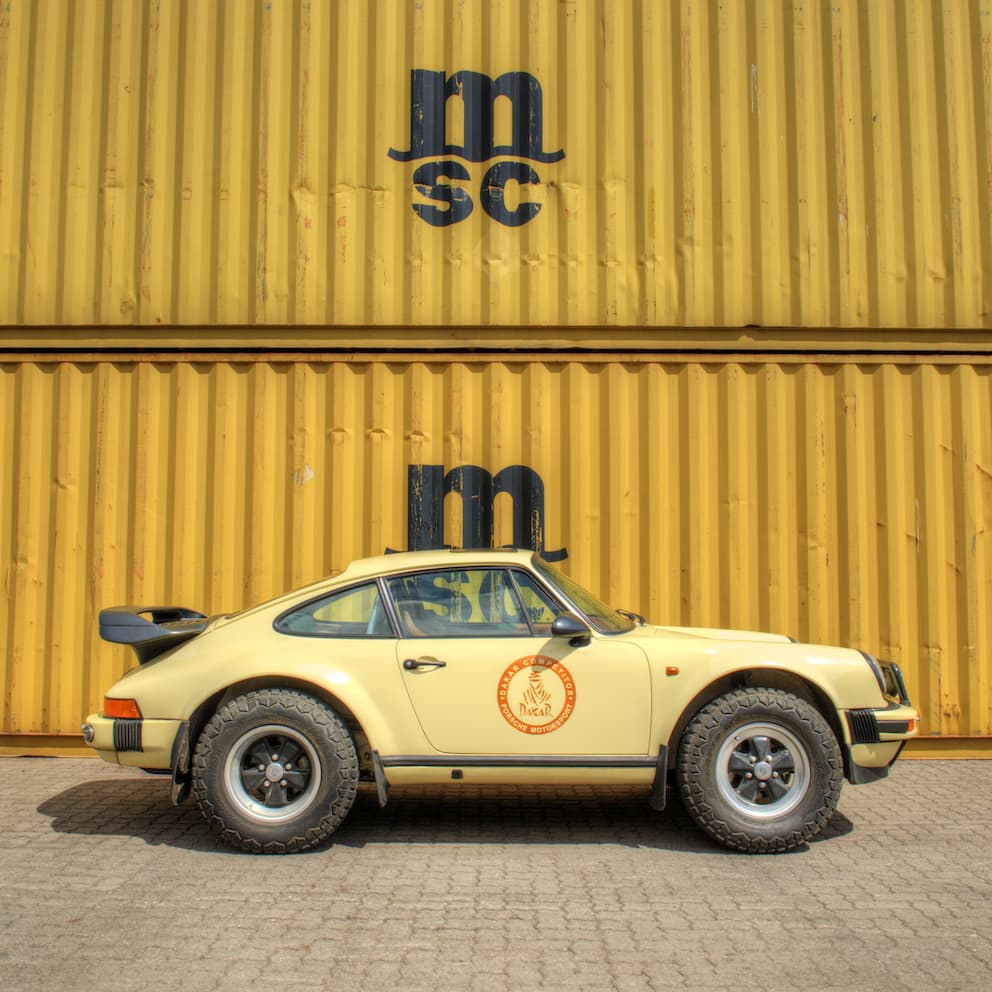
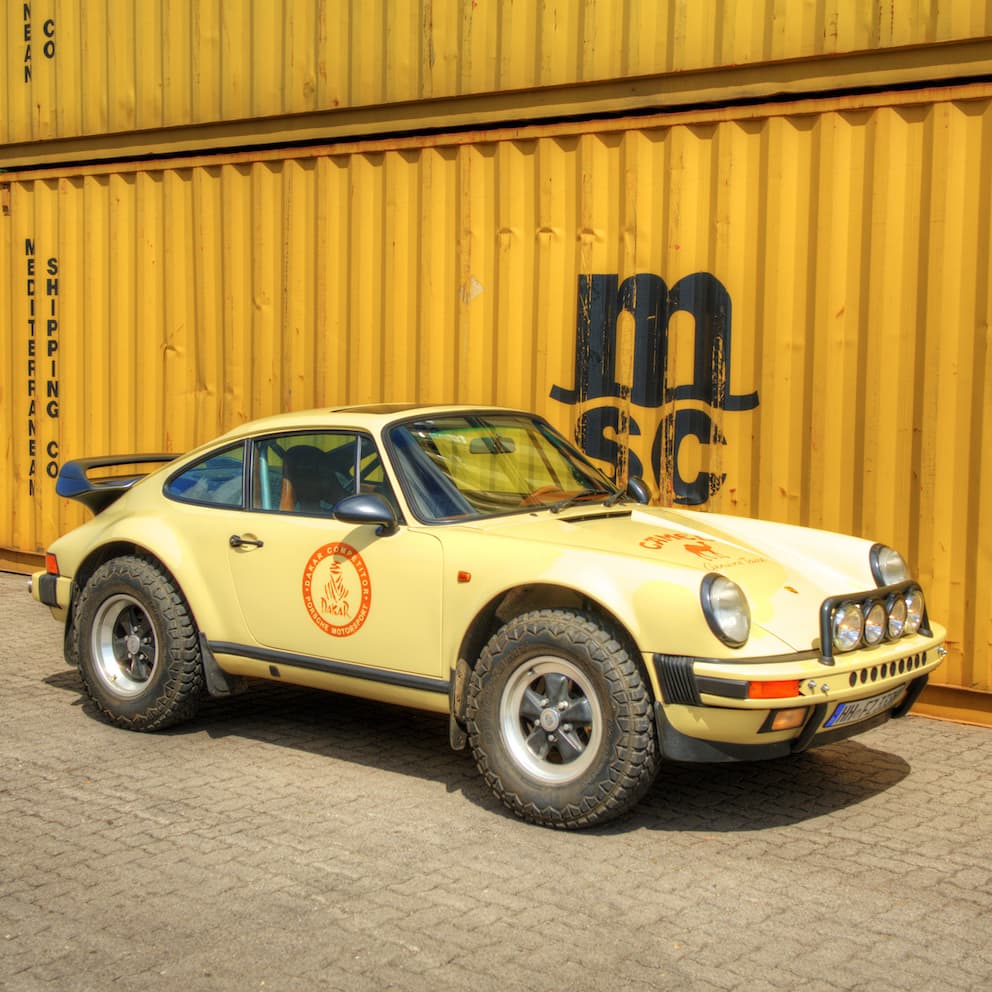
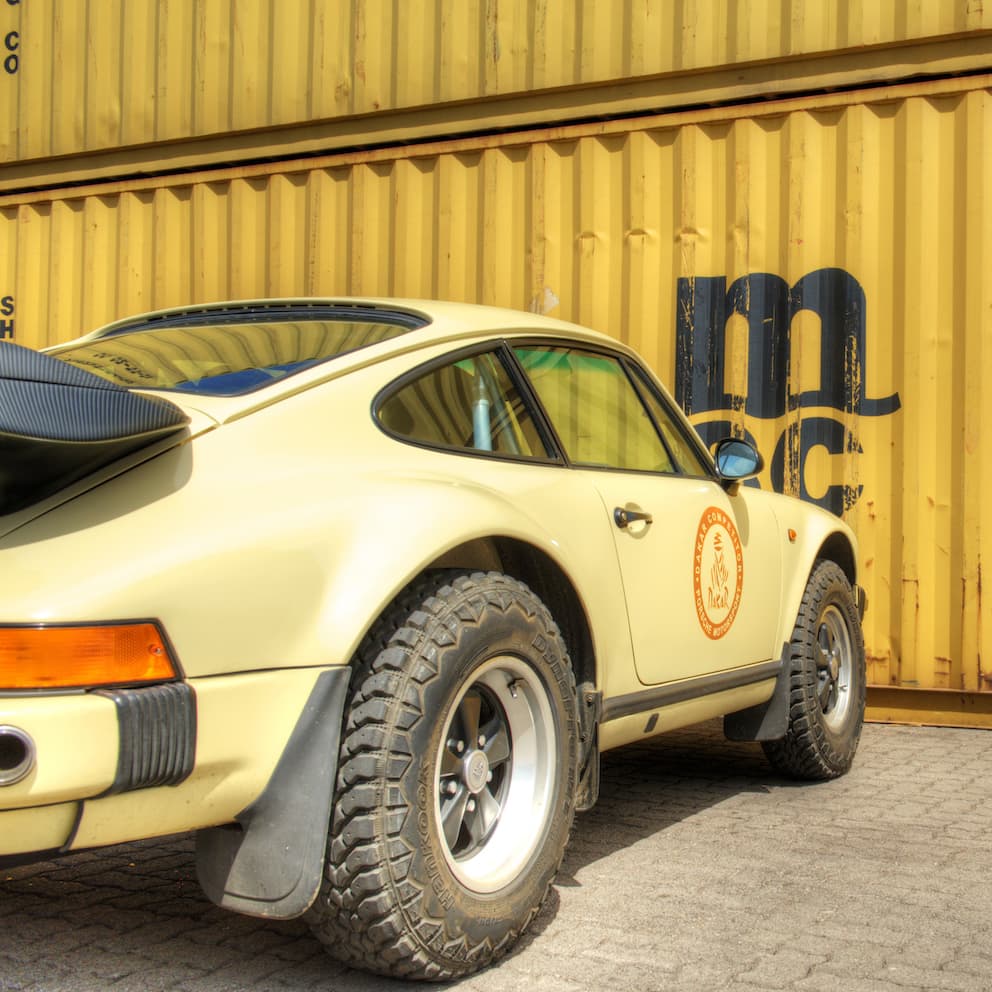
So I installed the remodelled struts and torsion bars and adjusted the height. That looked awesome already but I needed bigger tires. That really was a try and error long time process. Luckily, I didn’t have to buy all these tires, I could try-fit them first. Ended up with these in the pictures. 205/90/16 in front, 215/90/16 in the back on the standard 6 front & 7 rear 16 inch Fuchs wheels. Yes, it looks very high and the tires are huge but I liked it back then. But if I would do it again, I would probably go for 205/75/15 and 215/75/15 instead.

BODYWORK
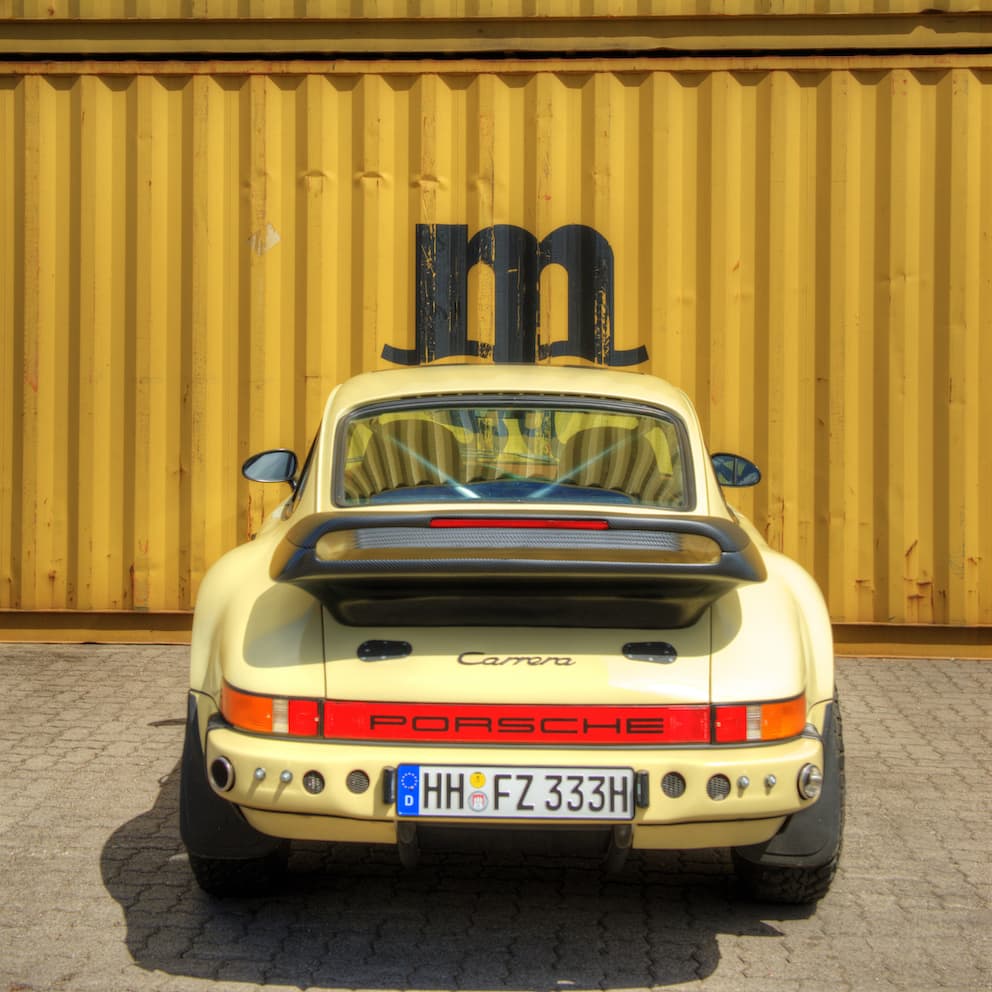
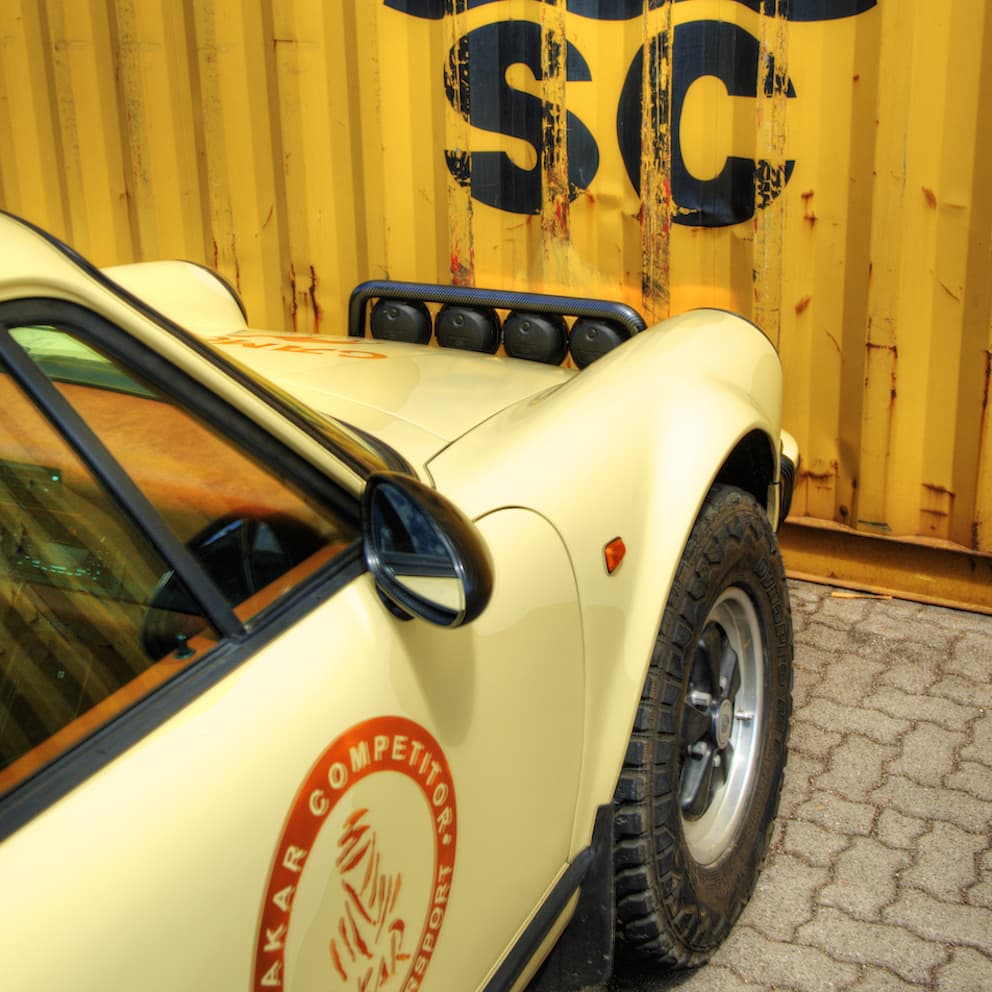
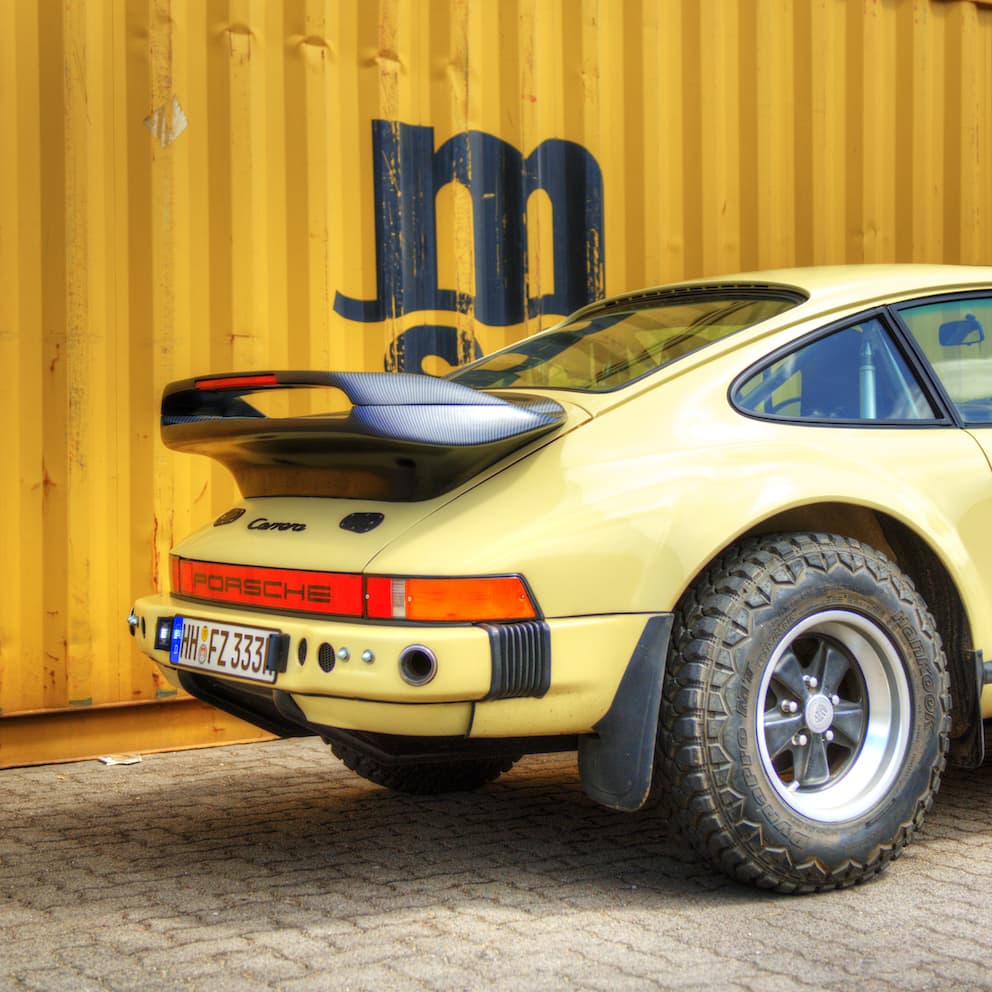
Fitting the tires in front was easy with the front fenders off. What I had to do then was a long, no, very long process of cutting and welding. And I really regret that I didn’t take any pictures of that fiddling. In the end I had nice wheel arches in the front and started cutting in the back until I could fit the tires. In the meantime I got the gearbox back and it went back in together with the engine. Renewed all hoses, adjusted the valves and put new gaskets in. After I readjusted the ride height a few more times, I was able to custom build the rear arches. That took ages, seriously. Still happy with the results even though the car is long gone. Couldn’t say no to a friend who wanted it so badly.

EXTERIOR
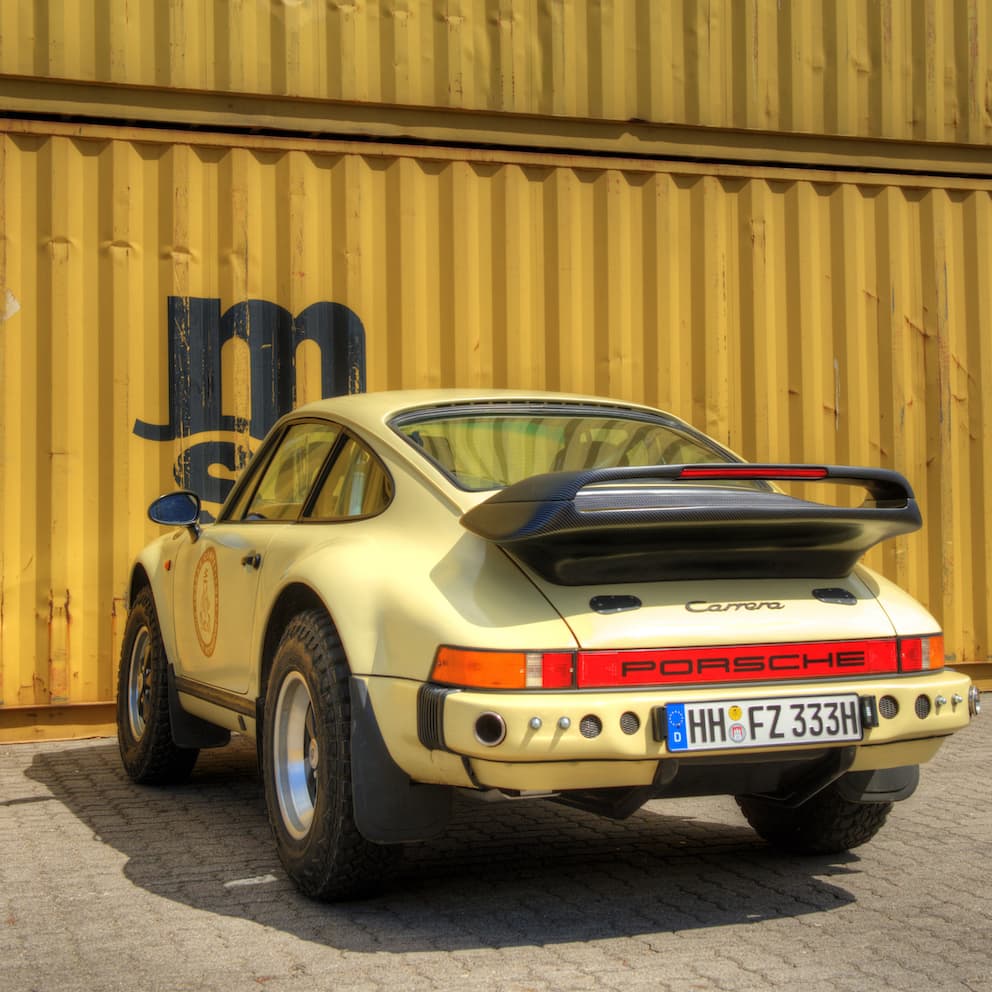
But of course, I wasn’t done yet. Started designing a skid plate, drilled holes in the bumpers to make them lighter, installed a winch just for fun and improved the bumper as you can see and finally added some more lights. Should have gone with a ducktail but I had this one and just added the top section. Last thing that I did – something that was really annoying me – was the exhaust. It really looked bad on the raised car. What I did sounds simple but it wasn’t. A lot of fitting and fiddling was necessary. In the end it looked awesome, the tailpipes end inside the rear bumper. Look closely and you can spot them.


INTERIOR
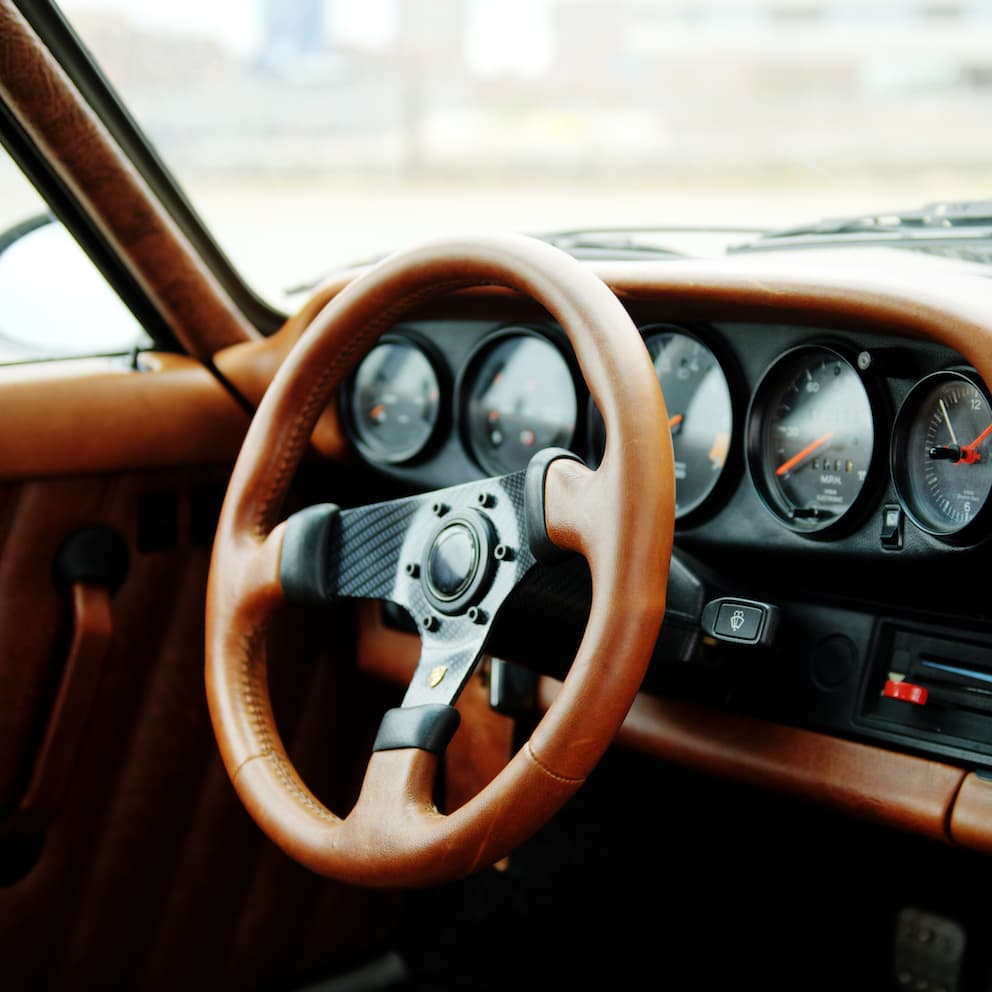
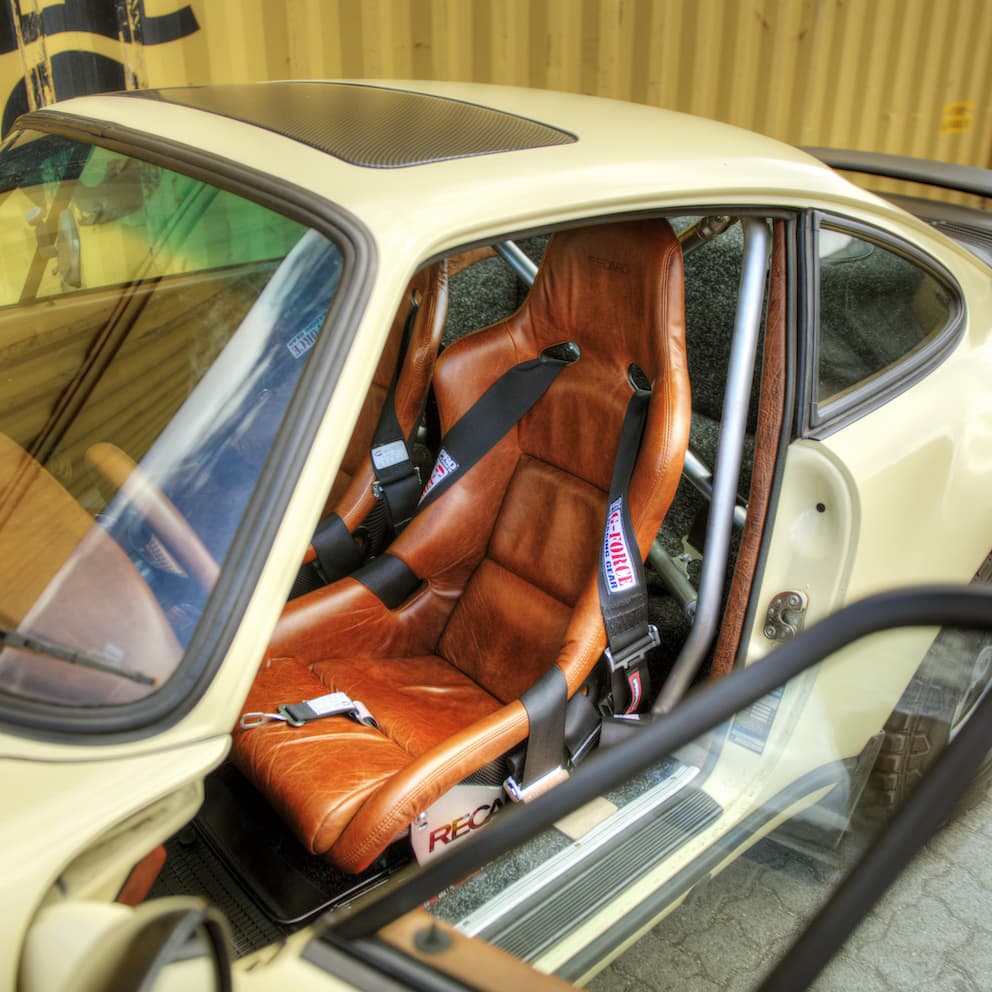
The interior might look special but in the end, it’s just the work of a friend who wanted to go in a different direction professionally and the reupholstered anything with brown leather, from the seats to the dash to the headliner and he even made a trunk cover. Yes, I still like it. Ended up with a Heigo rollcage with harness and Recaro seats and that was it.

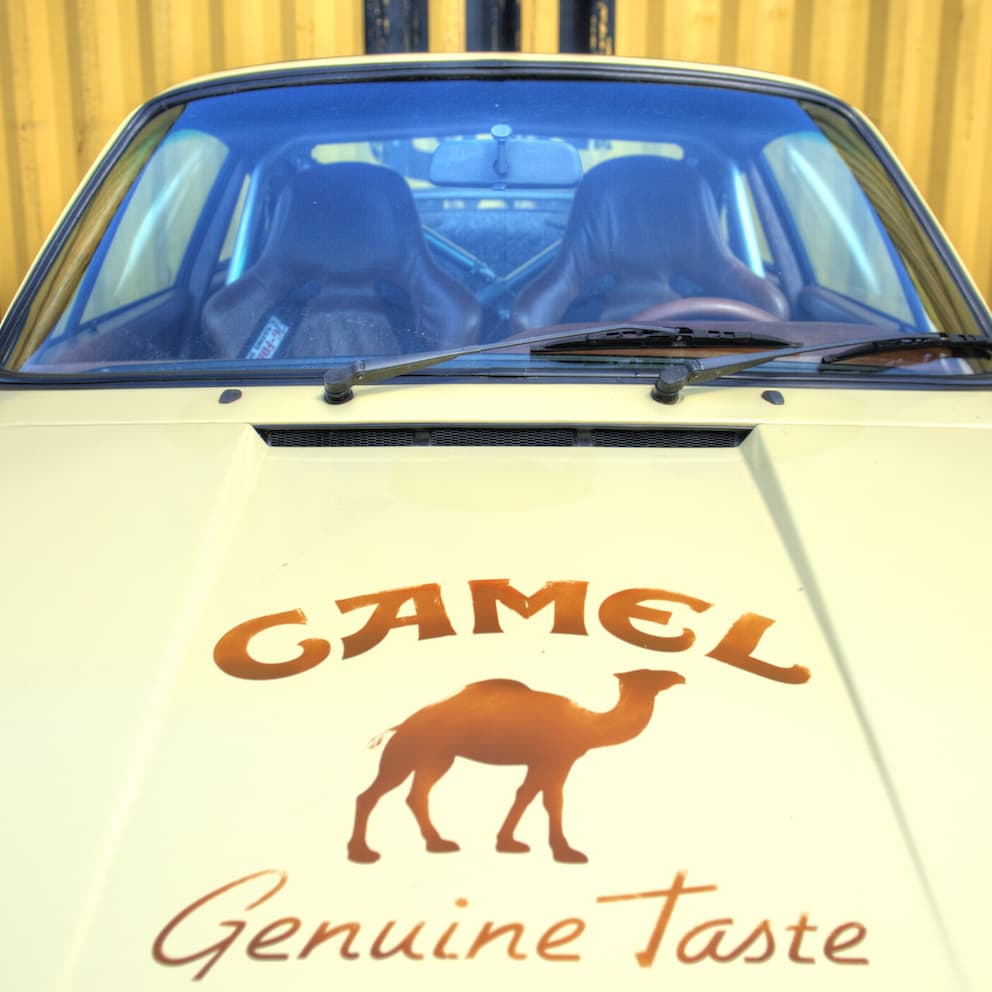
All in all a nice project that was later finished with a Safari style paint. But don’t come to close, the paint job isn’t that great, classic 10-footer. Yes, I did that myself in my garage. No practise, no experience at the time. But now. And my experience tells me: let someone else do that job. Hope you enjoyed this brief overview, if you have questions, get in touch!
