Taking the shit apart #2
Mads van Appeldoorn
March 30, 2020
As Amazon Associate I earn from qualifying purchases. I may receive a small commission at no additional cost to you for purchases made through links in this post.
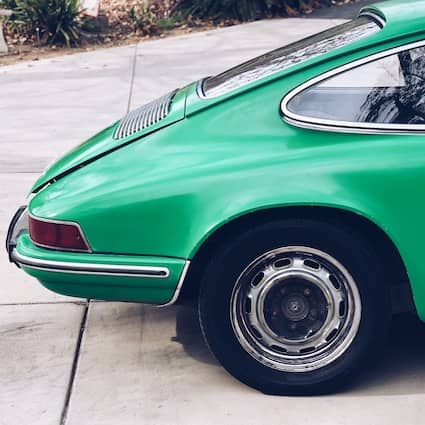
When I purchased the mess, I didn’t really check neither the engine nor the gearbox since my buddy told me it isn’t running. Whenever I get a new car – running or not – I put it on a lift and checked everything. I was pretty surprised when I checked the undercarriage. At first sight, it was in a very good shape.
Well, even though it’s a California car, you never know what happens in the 40 yrs. Later I found out it spend most of its live in the Los Angeles area, about 40mls. from where it is now.
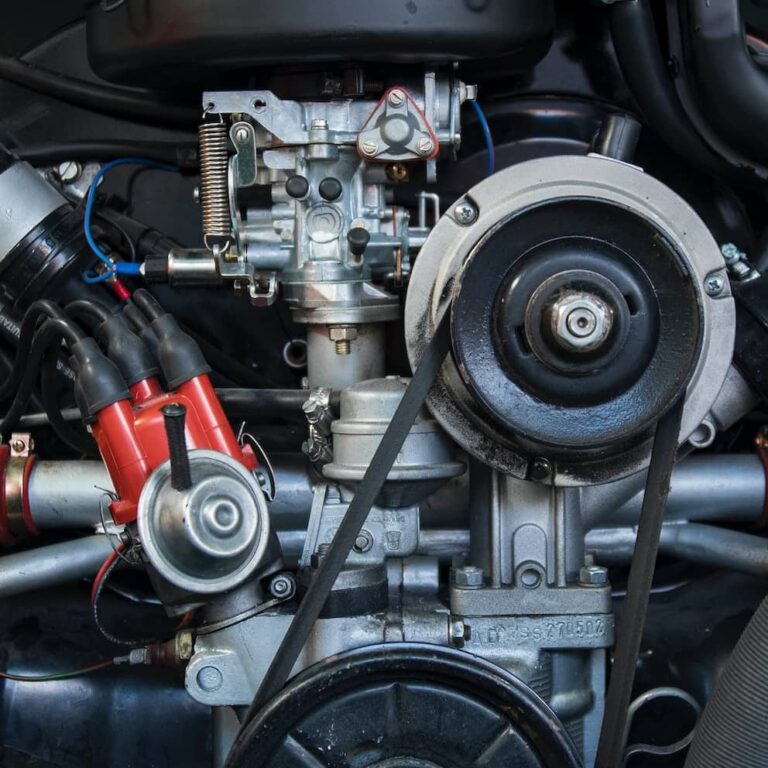
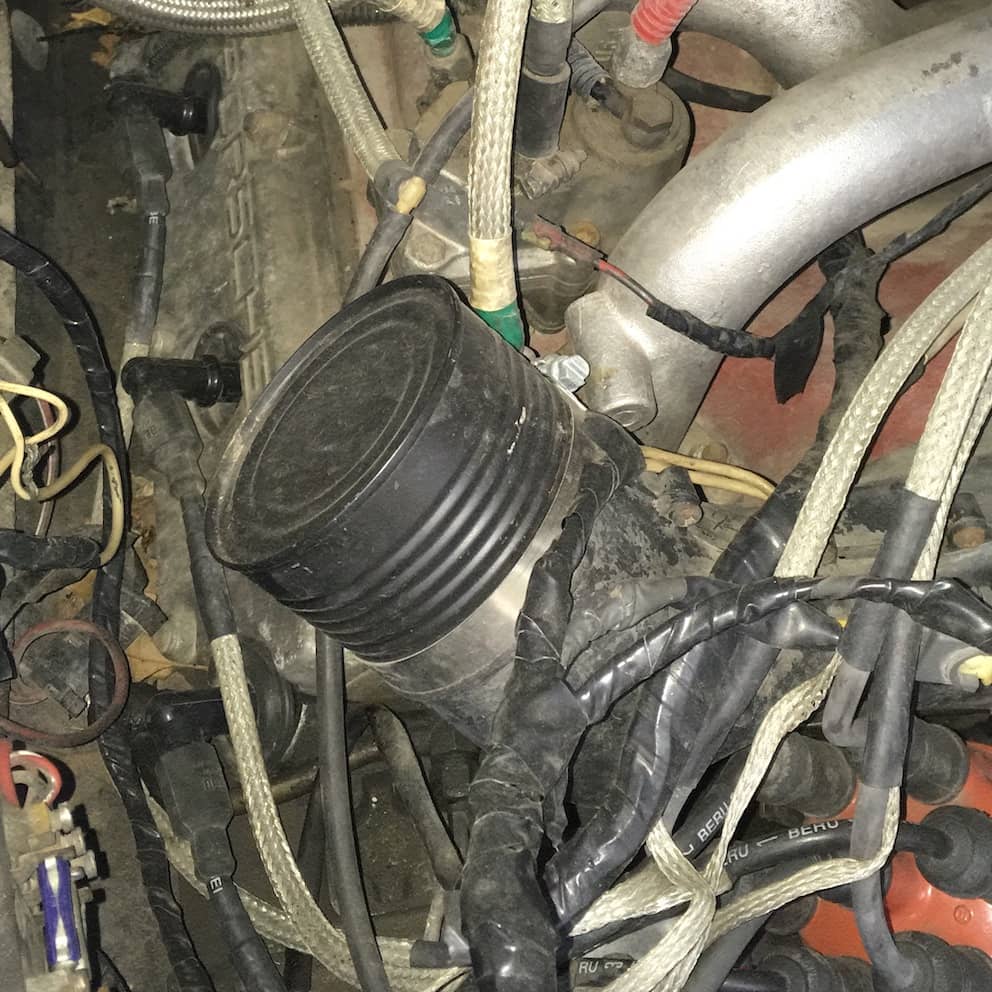
I even got the engine running and checked the clutch, everything was working – though the engine didn’t pull strong. Later it turned out the compression wasn’t that great anymore. But I had other plans in terms of the engine but we’re coming to that later. I started on the outside, back to front, I wanted to get rid of all the ugly body kit parts. They’ve had cracks here and there and I had no intention to re-use them at some point so I took them off as fast as possible if you know what I mean.
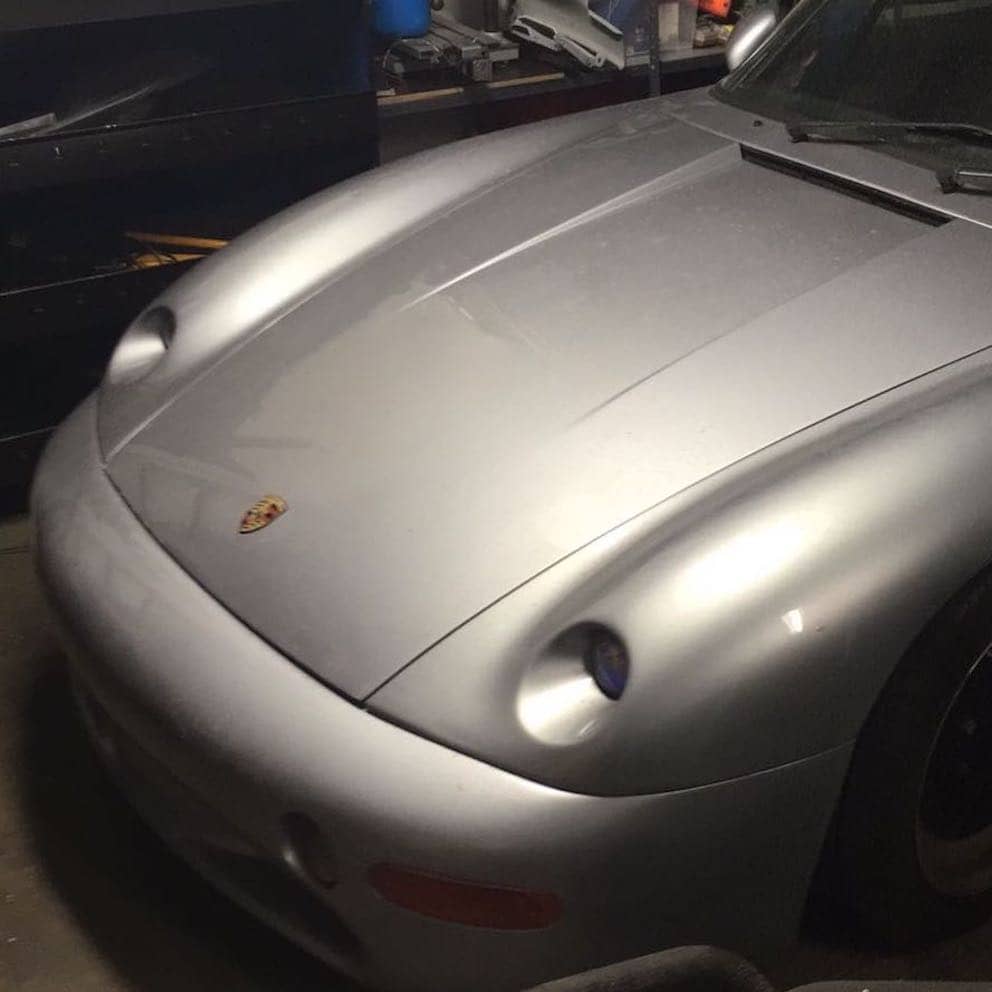
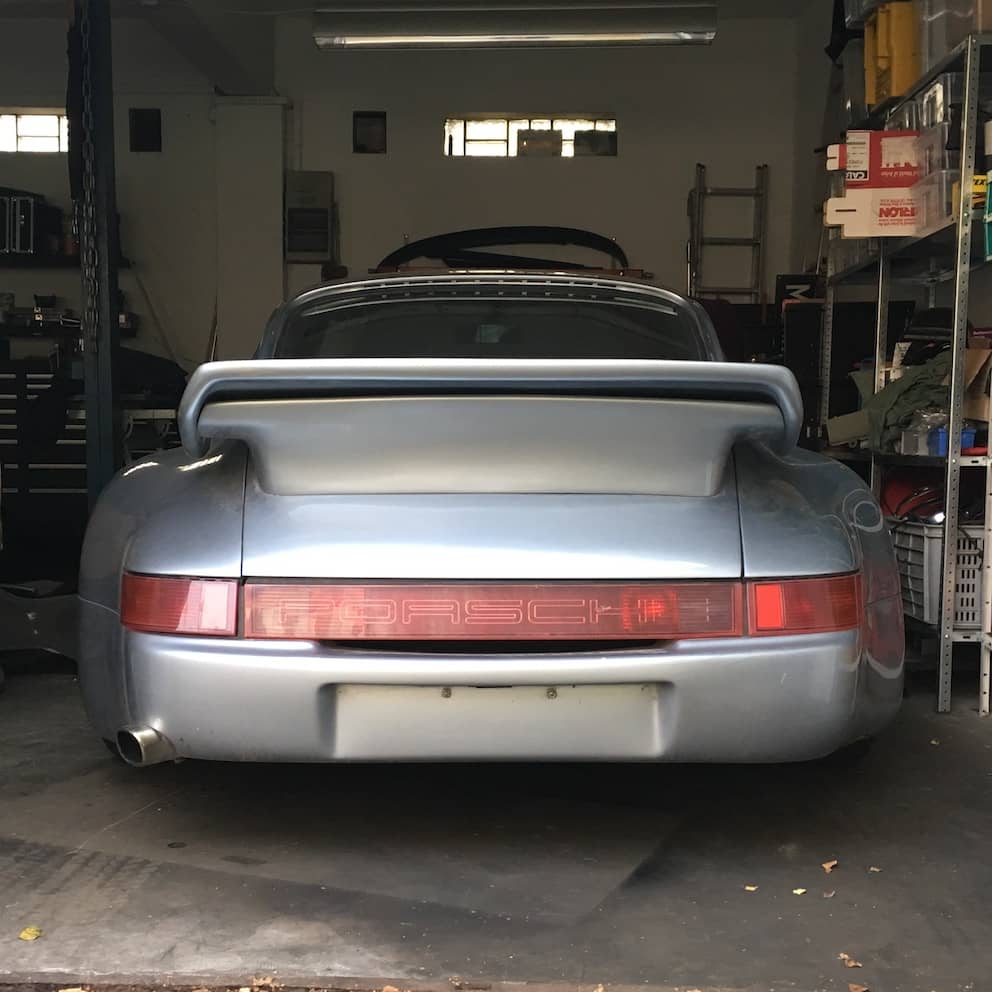
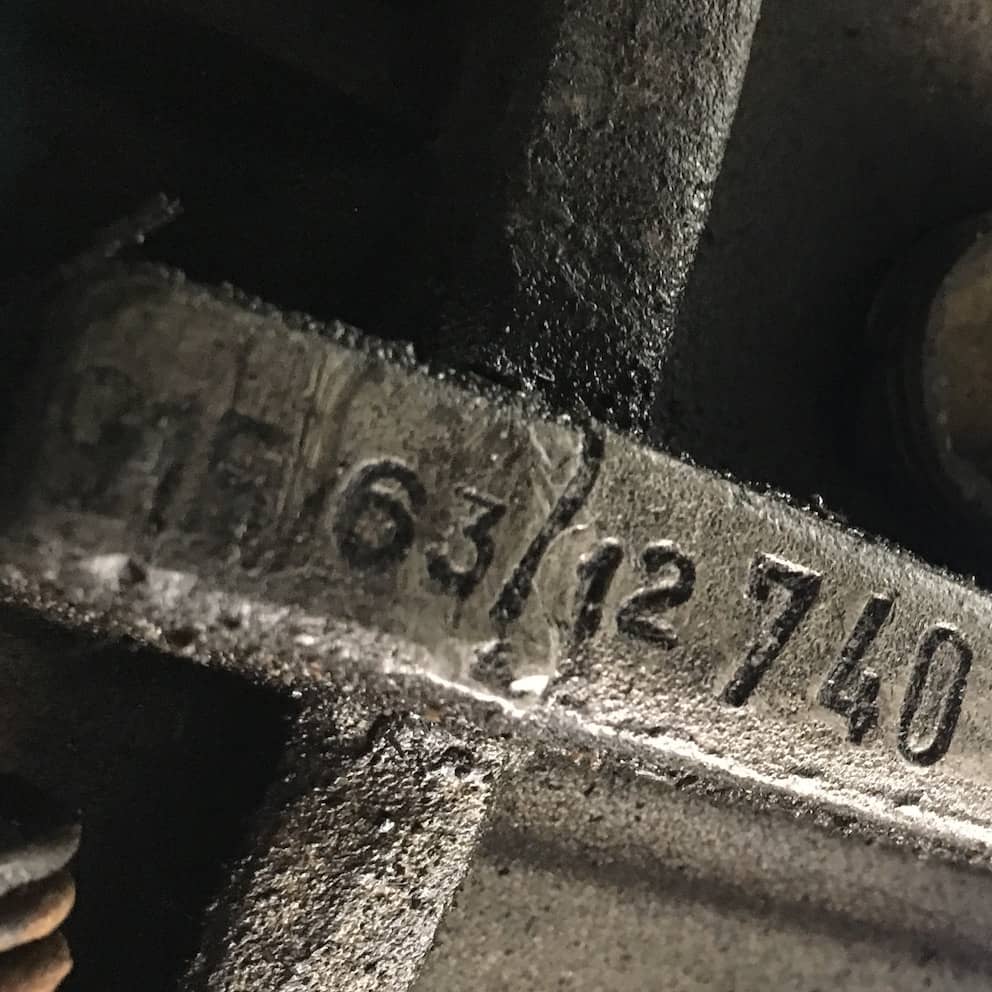
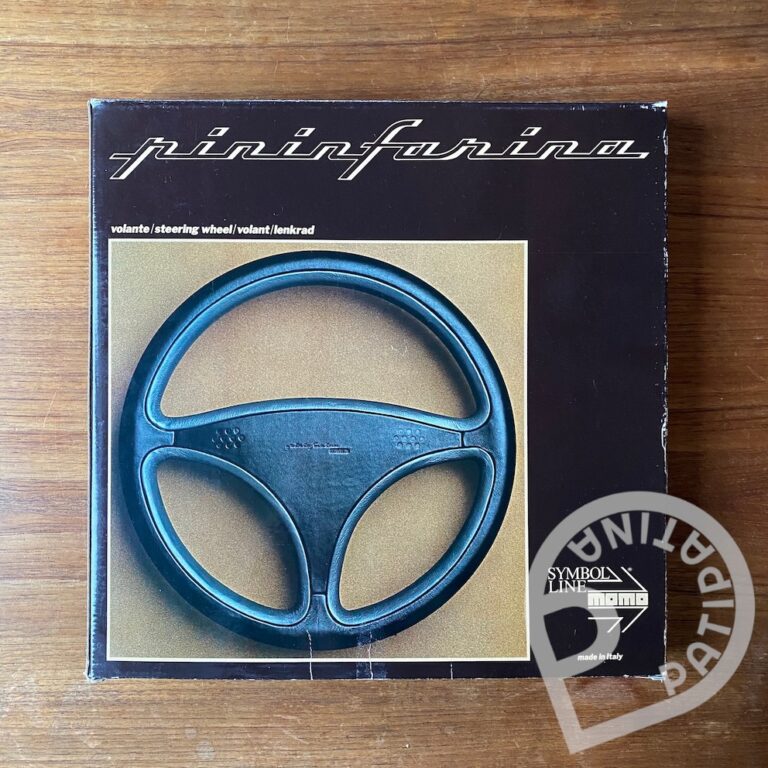
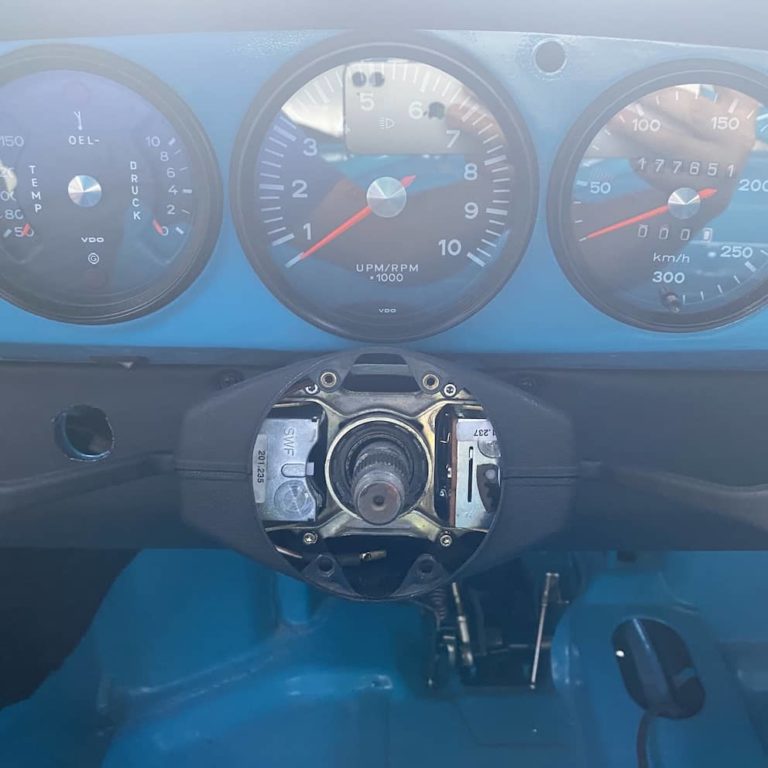
In the next couple of days I took out all the windows and the entire interior. Since I didn’t want to use it and it was in a good and reusable condition, I sold all the parts over pelican, seats, door cards, parcel shelf, steering wheel and dashboard. The car was pretty empty at that time but it was still rolling. Then I stripped the exterior, all the strosek fiberglass parts.
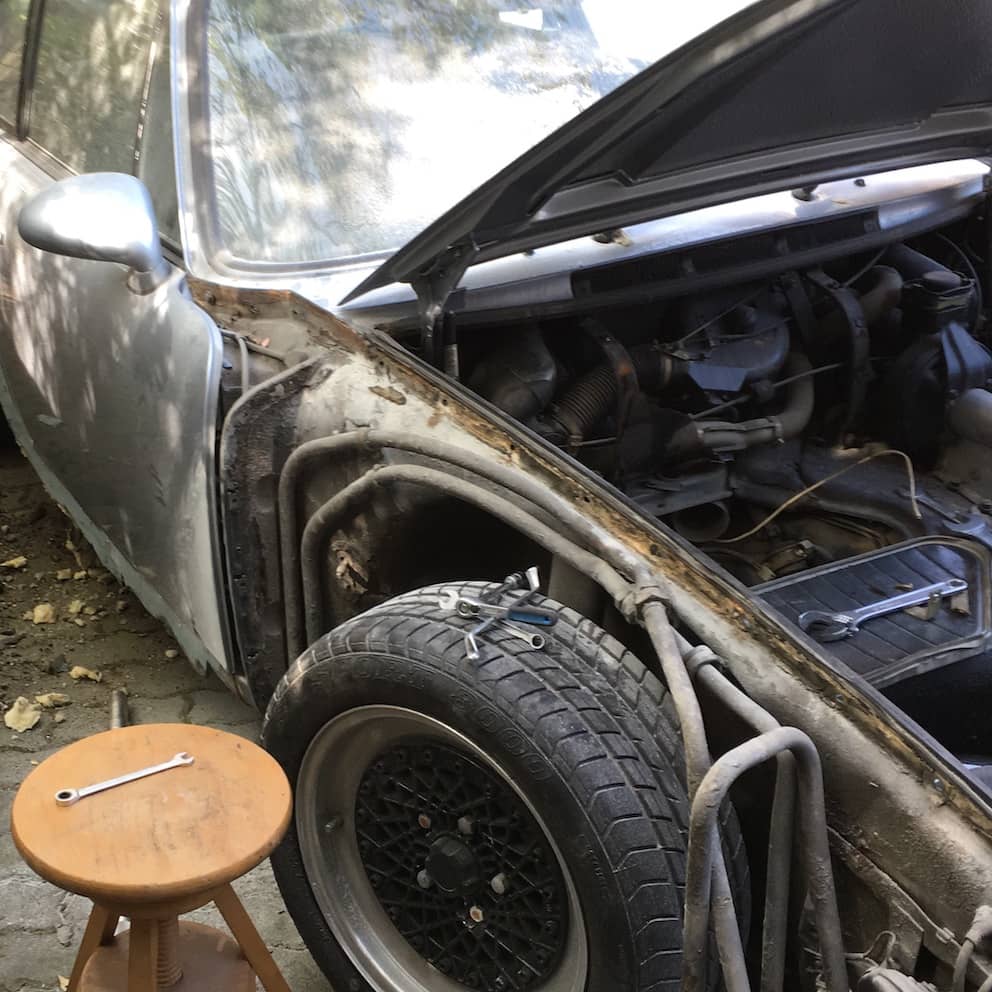
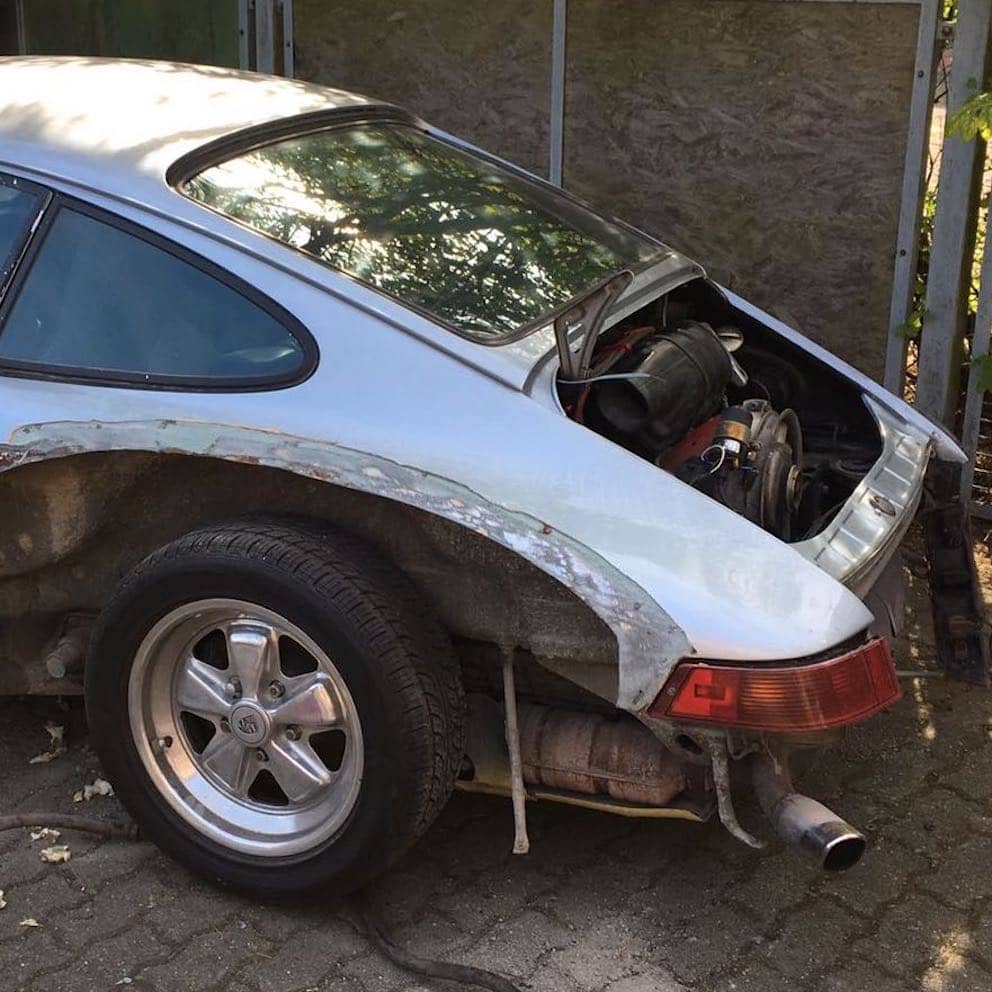
Next step – new body parts. As I said, I had some ideas in my head so I’ve sourced the parts for the front first. The parts I’ve sourced are JP Dansk. I wanted to go all metal for a lot of reasons. First, safety and second, I didn’t want the paint differences. Had that experience with my 911 race car built. May be it’s just me but I see the little differences, whether it’s metal, plastic or fiberglass underneath.
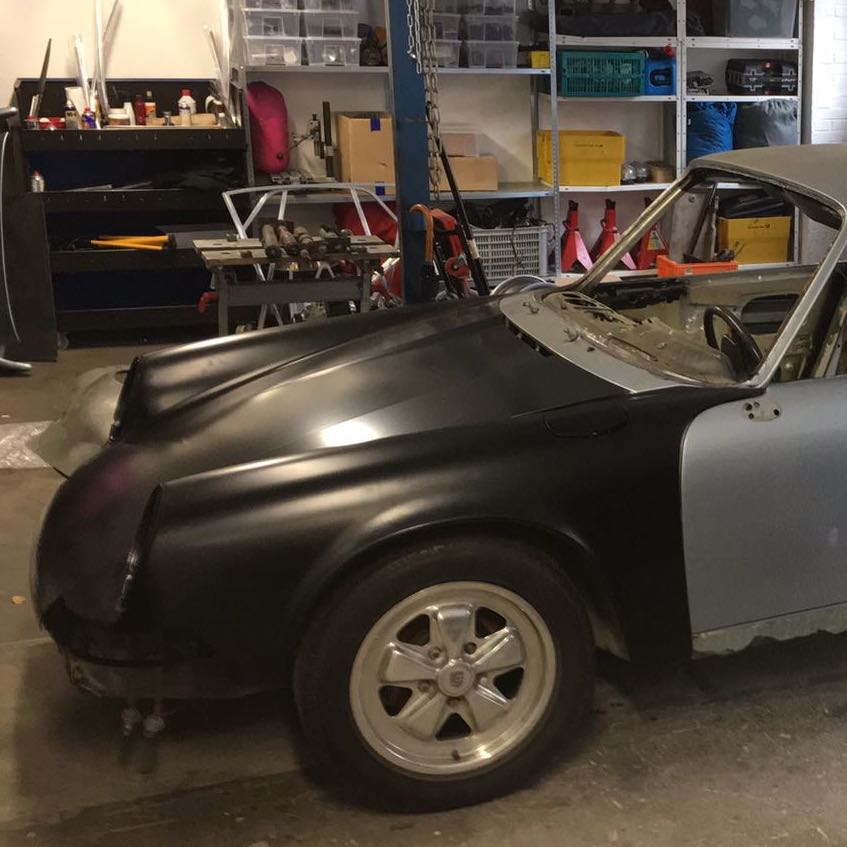
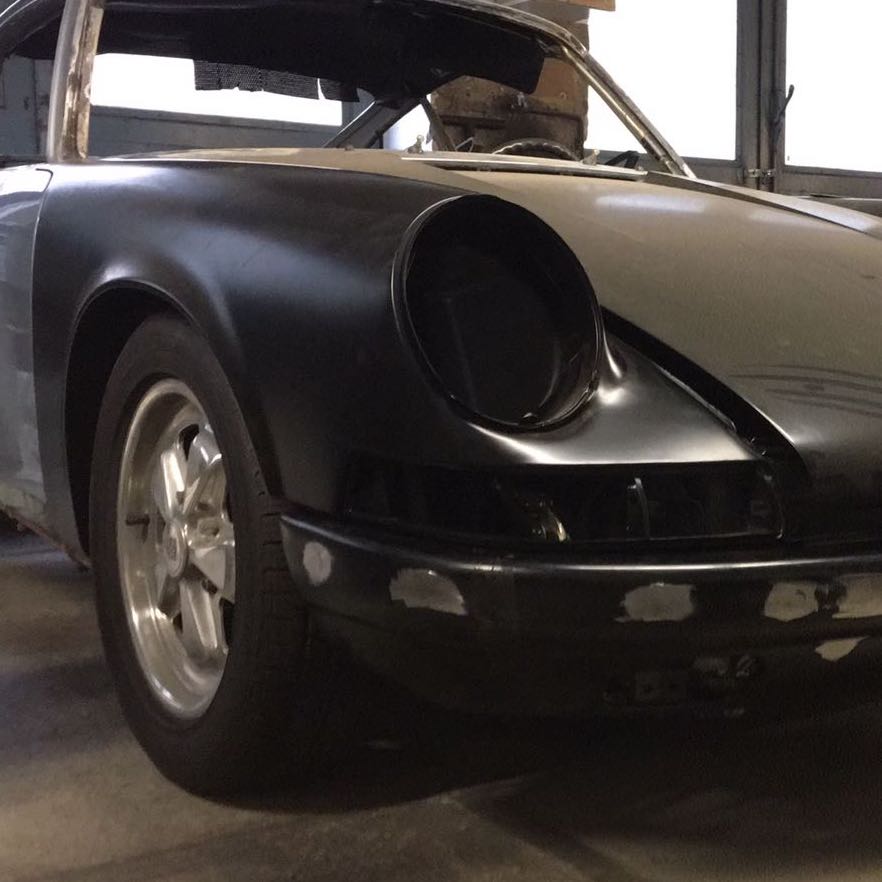
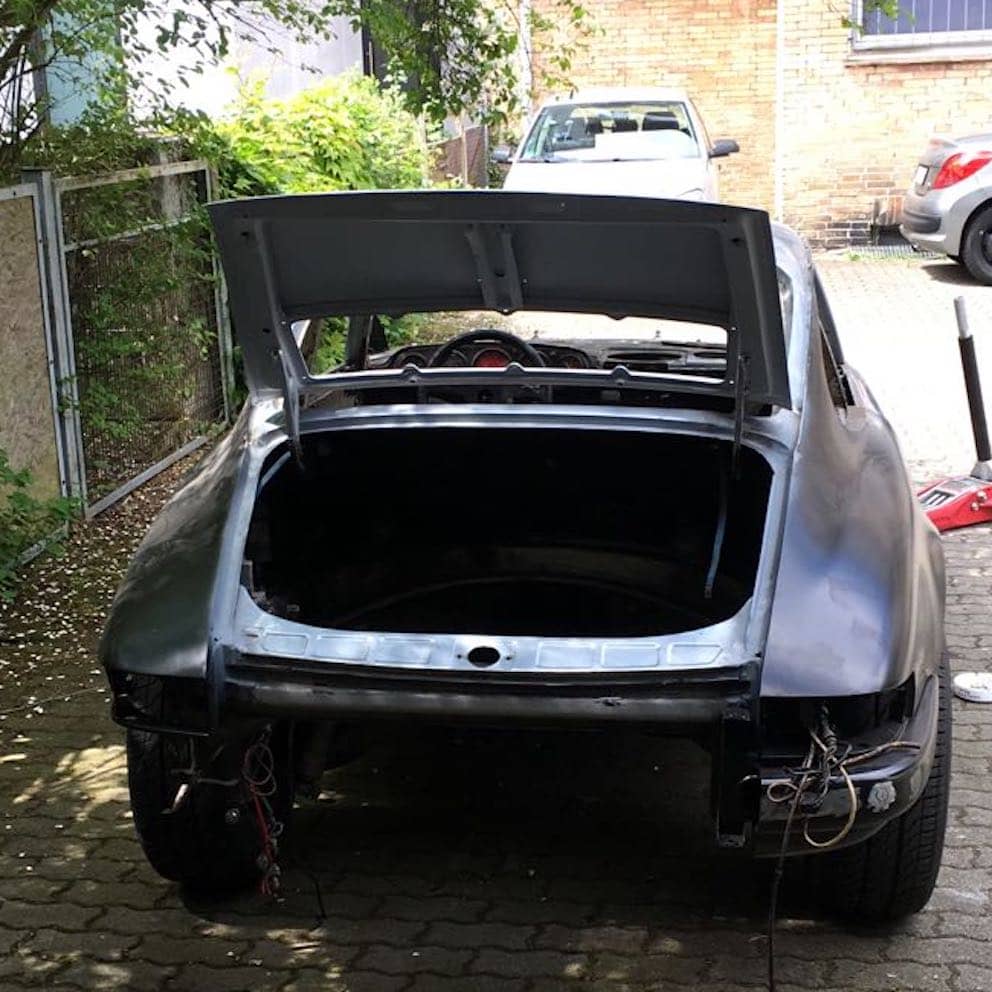
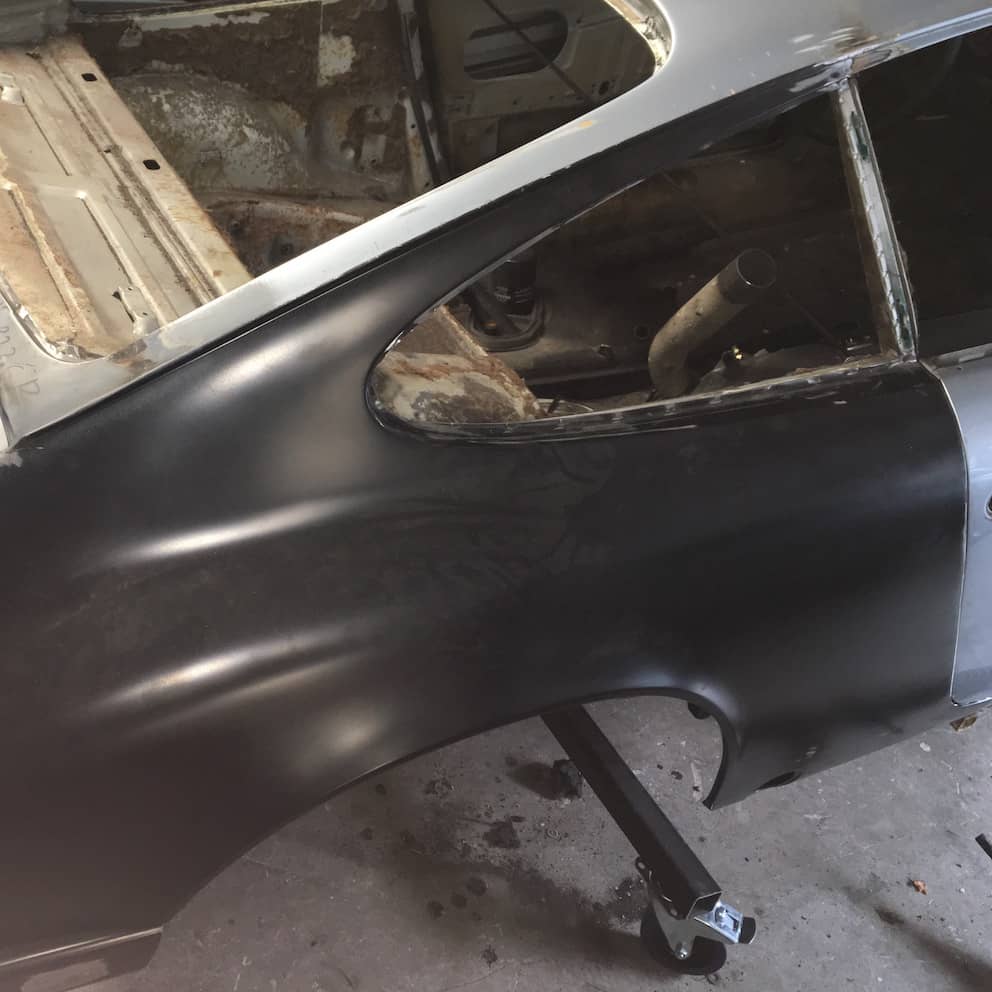
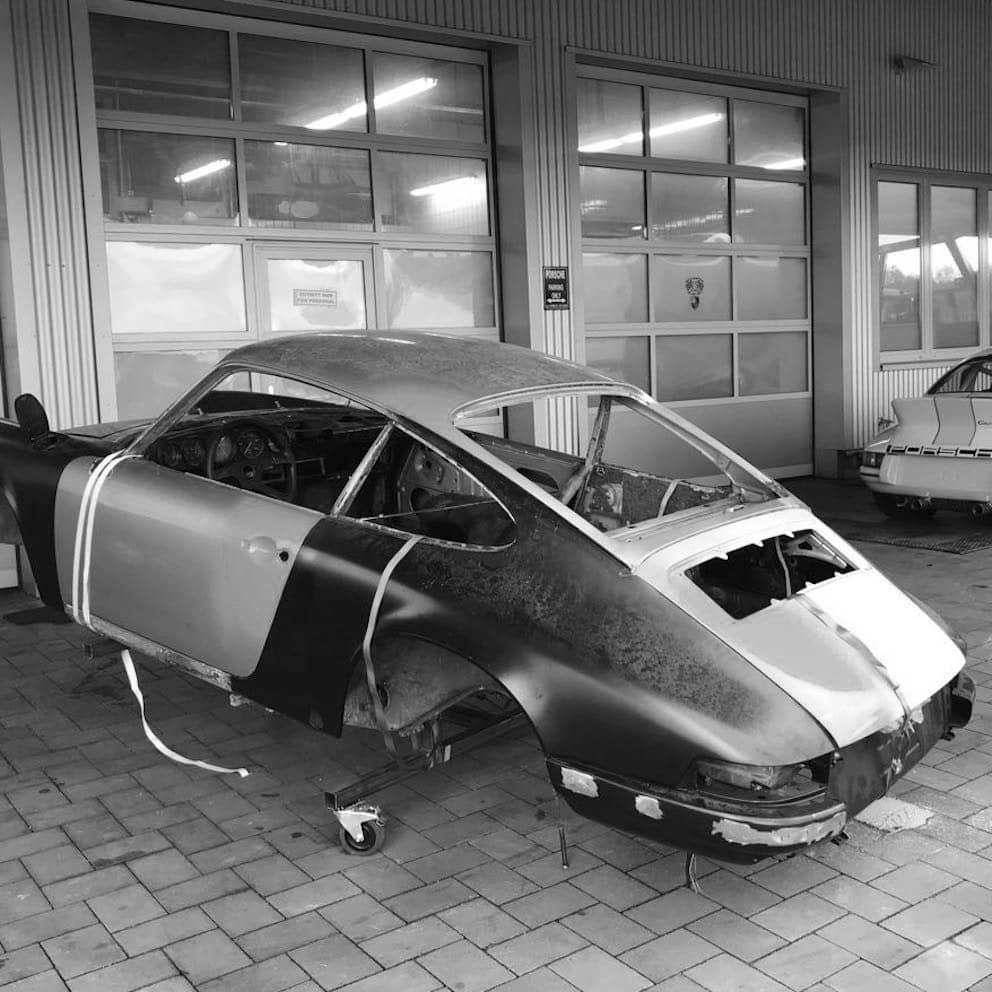
Fitment was great so I started the rear, much more complicated since there was welding involved. Sourced – surprise – narrow body parts, rear fenders and the bumper section parts. So everything was set on the back as well. Next step – remove all axle parts. Took me another half day to remove all the axle parts, suspension, and brake parts.
